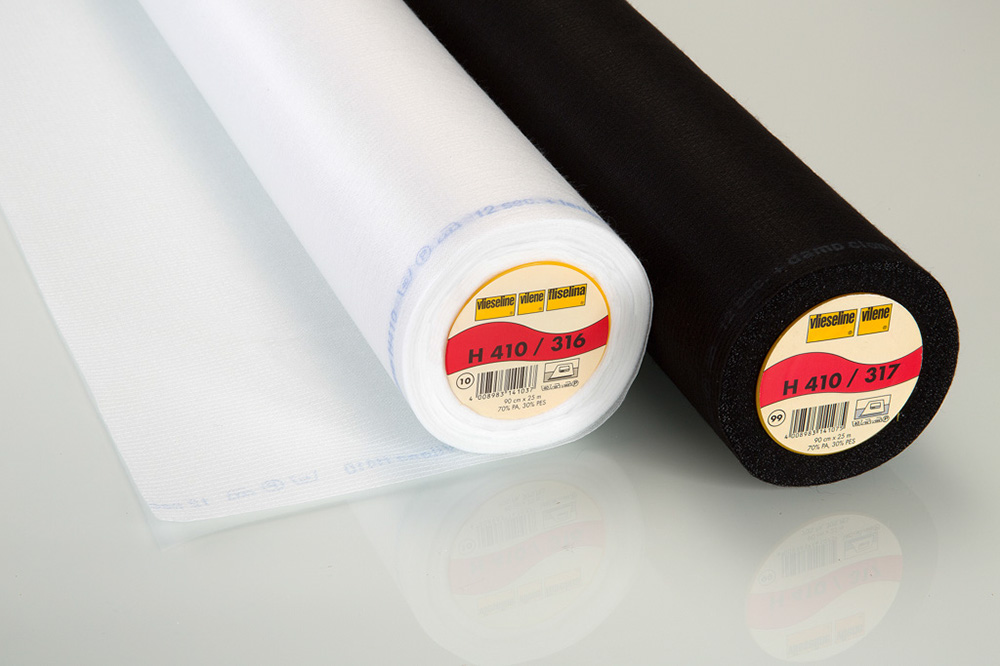
 With a break from the tradition of focusing specifically on Threads this edition is an introduction to the world of Vilene Interfacings. Also unlike past articles this article is to be used along side a host of extra information just added to the Non Woven Interfacings of the Vilene Range. Extra Information on each interfacing is available.
I have barely skimmed the surface with the article but it has only arisen after many emails asking for a good overview of the range. I hope it fulfils this and fingers crossed it is of use – by all means contact me if you have any other questions.
What Is Vilene Interfacing?
Vilene Interfacing is a non-woven fabric which is used as an extra layer in a garment to provide shape and support. A non-woven fabric means it is not woven or knitted, but instead created with a web of fibres, similar to felt.
It is available in up to three shades, white, charcoal and black, and several weights/stiffnesses to suit different purposes. Generally the heavier the weight of your fabric, the heavier interfacing you will need.
Most Vilene Interfacings have a heat-activated adhesive on one side, and are known as ‘iron-on’ or ‘fusible’ interfacings. These are attached to the reverse side of garment pieces using heat and pressure from an iron.
 Why Use Vilene Interfacing
Interfacing provides strength and stability to garment edges and details, giving your projects a more professional finish. It is used on entire garment pieces like collars, cuffs, lapels, facings, pockets and waistbands. It also reinforces and prevents stretching in areas such as buttonholes, necklines and opening edges, acting to keep these areas of your garment crisp through repeated washings. Your dressmaking pattern should tell you if you need interfacing and how much.
How Do I Use Vilene Interfacing
You will generally find Laundry Care Symbols printed along the edges of all the Vilene Interfacings we have available, showing the iron setting, plus pressing time and whether you should also use a damp cloth. However there are essentially two key methods for application:
Dry Heat Method
Lay the cut interfacing piece, adhesive side down, on the reverse side of the fabric piece. Set your iron to the correct temperature, do not use steam, and glide your iron over the interfacing for the stated amount of time, pressing down firmly as you iron. For best results when fusing use a firm even surface, such as a table. If you use an ironing board, you can improve the result by placing a pressing cloth below. After ironing, lay the fused parts flat and allow them to cool for 20 to 30 minutes before you begin sewing – this helps ensure the pieces have bonded securely.
 Damp Cloth Method
Lay the cut interfacing piece, adhesive side down, on the reverse side of the fabric piece. Set your iron to the correct temperature, do not use steam. instead lay a damp pressing cloth over the top of the interfacing and fabric. Press down firmly on top of the pieces for the stated time, do not use a gliding action. After pressing, remove the pressing cloth and leave to cool as above.
A good tip to remember is always try the interfacing on a scrap of your fabric before you begin to make sure you have the right heat and pressure to set it in place. Once it has cooled completely you should not be able to peel it off easily.
Join Us
We are constantly adding information & articles for the threads, fabrics and haberdashery across our ranges. To be kept up-to-date with all new info as well as Offers, News & Exclusive Insights join The Empress E-Newsletter.


